How to use the FiveM minimap editor
The studio is a minimap editor that runs in the browser: you pick a base map and a palette, put your server name, logo, zones and markings on it, watch it render on the real tiles, and download a finished FiveM resource. There is no Photoshop step, no texture conversion and nothing to install — the whole thing from empty canvas to a folder you drop into resources/ happens in one tab. This is the full tour of it.
Short answer: Open the studio, choose a base map style and a palette, add text and logo layers with the toolbar, check the free watermarked preview, then pay and download the built resource. Drawing tools and the postal layer are free; each text or image element is $1 on top of the $8 map.
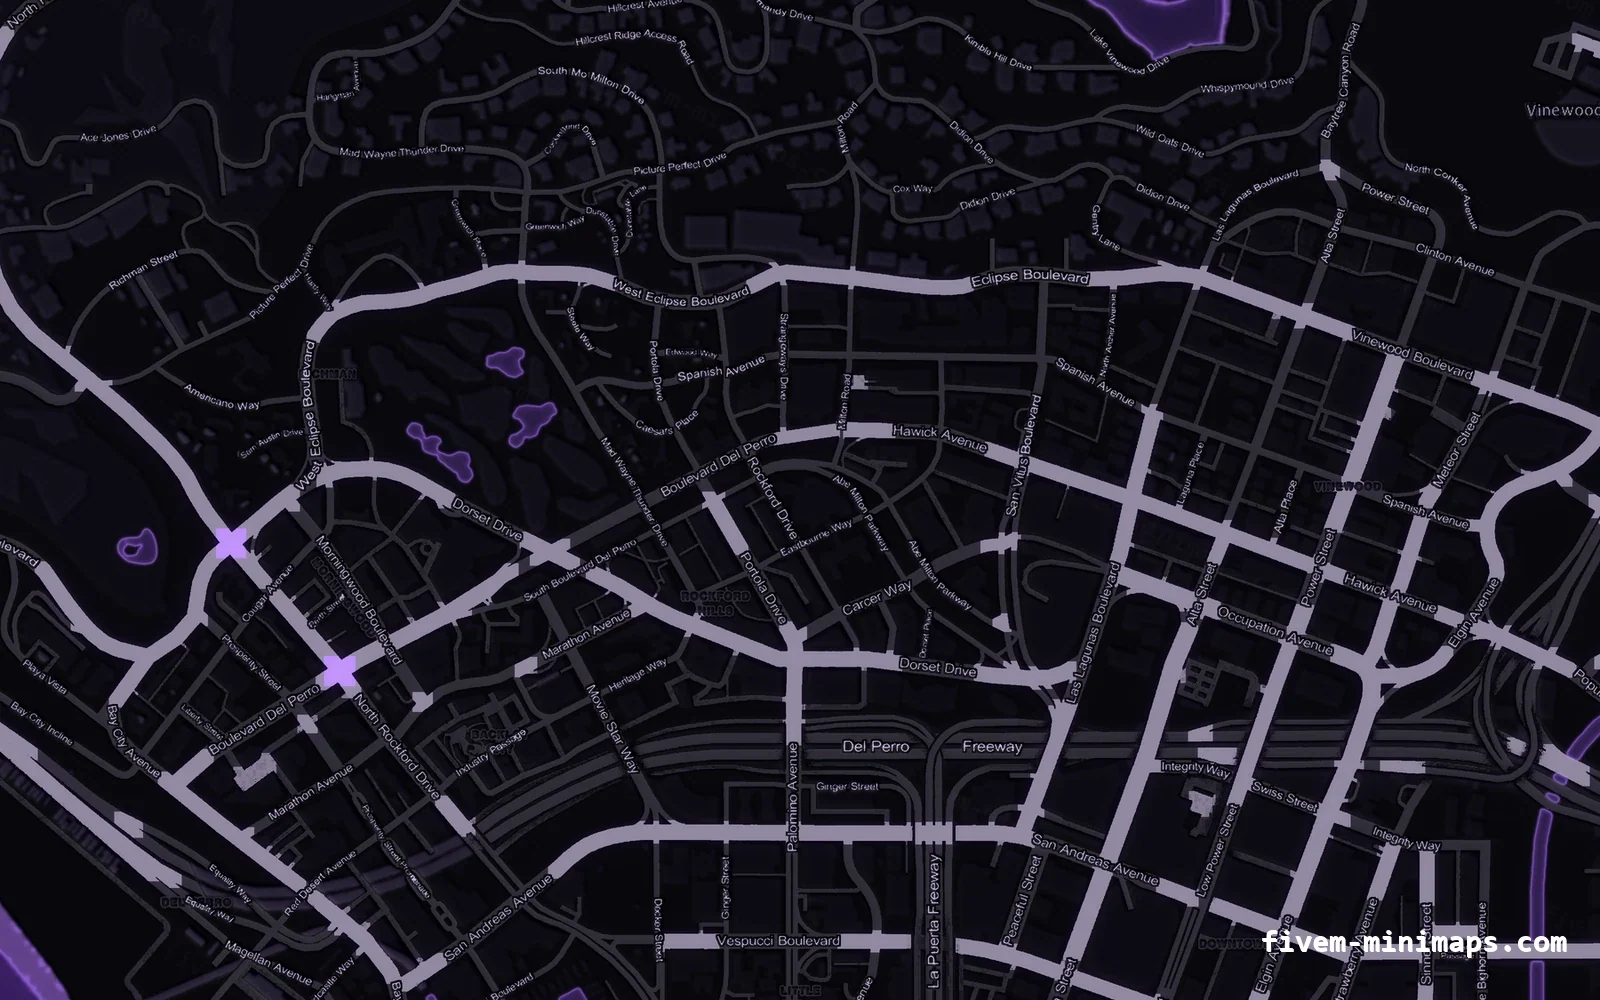
#What the studio actually is
It is a minimap maker rather than a filter. Every layer you place is composited into the real 6144 × 9216 map at full resolution by the same renderer that produced the 36 catalogue maps, and the output is a texture set the game loads — not an overlay drawn on top of the HUD by a script. That distinction matters: a script-drawn logo can be disabled, blocked or broken by another resource, and it costs a draw call every frame. A logo baked into the map is simply part of the map.
The editor runs against the live tiles, so what you position is what gets rendered. You are not aligning against a placeholder image and hoping.
- Runs in the browser — nothing to install, no image editor needed.
- Works on the real map, at real coordinates, not on a scaled mockup.
- Exports a drop-in FiveM resource with fxmanifest.lua, client.lua and the stream folder.
- Framework independent: QBCore, QBox, ESX, vRP and standalone all take it unchanged.
#Step 1 — pick the base map style
The first screen is the base map: with postal codes, without postal codes, or Google style. This is the one decision that cannot be undone later by a slider, because the numbers and street names are printed into the artwork itself.
| Base map | What is printed on it | Start here if |
|---|---|---|
| With postal codes | Numbered postal grid plus street names | Your server has a dispatch culture and players call postals |
| Without postal codes | Street names only | You draw your own zones, or you run a postal script that shows the number in the HUD |
| Google style | Colour street map with postals, real terrain relief | You want the map to look like a navigation app rather than a stylised radar |
Which base to start from
#Step 2 — pick the palette
Twelve palettes, from near-black through the six colour themes to the two topographic ones. Hovering a card swaps the city crop for the whole island so you can judge the water and the coastline, not just the streets.
Pick for contrast against your blips rather than for your brand colour. A red map with red blips is the classic mistake — the brand colour belongs on your logo, and the map belongs underneath it.
#Step 3 — the editor, tool by tool
The left rail is the toolbar. Each entry shows its name and its keyboard shortcut, and hovering one flies out a description. The first eight are the tools; the last three open panels.
| Tool | Key | What it does | Charged? |
|---|---|---|---|
| Select | V | Move, resize and rotate what is already on the map | — |
| Pan | H | Drag the map around without touching your layers | — |
| Text | T | Server name, tagline, Discord tag, district labels | $1 per layer |
| Logo | I | Place a PNG, JPG or WebP anywhere on the map | $1 per image |
| Brush | B | Freehand stroke, hard or soft edged | Free |
| Line | L | Straight line, solid or dashed, optional arrow head | Free |
| Zone | Z | Trace an area and give it a fill and an outline | Free |
| Erase | E | Paint over something and the map is rebuilt around it | Free |
| Look | — | Restyle the whole base map: 11 controls, 8 ready looks | Free |
| Postal codes | — | Drop the entire postal grid onto any base map | Free |
| Base map | — | Swap style or palette, jump to a quick view | — |
The editor toolbar
#Text layers: what you can actually do
A text layer is not a caption box. Seven fonts are available — Pricedown (the GTA face), Anton, Bebas Neue, Oswald, Teko, Archivo and Big Shoulders — and each layer carries a full set of typographic and effect controls, all included in the $1.
- Curve the baseline into an arc, in either direction.
- Tilt and skew, stretch on X and Y independently.
- Gradient fill with your own two colours and an angle.
- Outline, drop shadow and an outer glow, each with its own colour and strength.
- A plate behind the text — colour, padding and corner radius — for when the map underneath is busy.
- Uppercase, letter spacing and line height, so a server name can be set like a zone label rather than a caption.
#Logo layers and the burn-in
Upload a PNG, JPG or WebP up to 20 MB; a design can hold up to 24 images. Every upload is checked by its actual bytes rather than its declared type and re-encoded server-side, so a renamed file is not a way in.
Once placed, an image layer has the usual transforms — free stretch, skew, flip on either axis, corner rounding, a drop shadow — plus brightness, contrast, saturation and a greyscale switch, so a logo made for a white website can be brought down to something that sits on a dark map.
The blend modes
Normal, screen and multiply. Screen is the one to reach for with a glowing or neon logo on a dark map: the black background disappears and only the light survives. Multiply does the opposite and suits a dark mark on a light palette.
The magic burn-in
For a logo that was never cut out properly there is a burn-in button: it keys out the dark background by luminance and feathers the edges so the mark melts into the map instead of sitting on a rectangle. Press it repeatedly and it goes one step deeper each time, five steps in total. The preview is drawn on a canvas so what you see is what gets composited.
#Drawing: zones, routes and repairs
The four drawing tools are what turn a bought map into a server map, and they cost nothing. Brush and line are for routes, borders and callouts. Zone traces an area and fills it, which is how gang territories, safe zones and red zones get onto a map without a script.
Erase is the odd one out and the most useful of the four: paint over something and the compositor rebuilds the map from what surrounds it. Three modes — smooth, texture and mirror — decide whether the patch is blurred in, given back the grain of its surroundings, or mirrored from the other side. That is how a landmark that no longer exists on your server disappears, seam and all.
#The Look panel and the postal grid
Look restyles the base map itself rather than your layers: hue, saturation, brightness, contrast, blur, sepia, greyscale, invert, a tint colour, a vignette and film grain — eleven controls, plus eight presets to start from. The presets are Noir, Night ops, Wasteland, Vintage, Winter, Toxic, Inferno and Cyber.
The postal panel drops the entire postal grid onto whichever base you chose, including the two that do not have it printed. You set the colour, the opacity and whether the numbers get a halo; the positions come from the map itself, so they are exactly where a player expects them. It costs nothing.
#Layers, and the Minimap divider
The layer list is on the right. Drag to reorder, send forward or back, duplicate, hide, lock or delete. Selecting a layer fills the properties panel below it with everything that layer can do.
One row in that list is pinned and cannot be moved: Minimap. It marks the map itself. Anything above it is drawn on the map; anything dragged below it is drawn behind the map, with the map composited over the top at whatever opacity and blend mode you set in the Base map panel. That is how a full-bleed background image or a coloured wash under the whole island is done.
| Keys | Action |
|---|---|
| Ctrl+Z / Ctrl+Shift+Z | Undo and redo |
| Ctrl+D | Duplicate the selected layer |
| Arrow keys | Nudge 5 map pixels |
| Shift + arrows | Nudge 50 map pixels |
| Delete / Backspace | Remove the selected layer |
| V, H, T, I, B, L, Z, E | Switch tool |
Keyboard
#The export frame and the Cayo Perico canvas
A dashed frame marks the export area: 6144 × 9216, the exact pixels that end up in the resource. Anything crossing it is flagged with a warning strip naming the layers that will be clipped, so nothing is silently cut off at build time.
If you tick the Cayo Perico add-on, a second canvas appears next to it, with a Los Santos / Cayo Perico switch in the top bar. The island has its own export frame at 1991 × 1995 and its own layer list, and everything the editor can do on the mainland it can do there — your logo, your labels, your zones, on the island, baked into the island file at full resolution after payment.
#The free preview, and what the price is made of
The bar along the bottom always shows what the design currently costs, itemised: the map, the number of text layers, the number of images, how many drawn layers are included free, any element package that has kicked in automatically, and the Cayo add-on if it is on.
Free preview renders the whole map for real — the full composite, at full resolution, downsampled to a watermarked image. It is not a mockup of the editor view: if something is going to be wrong in the finished resource, it is wrong in the preview too. Use it before you pay.
| Item | Price |
|---|---|
| The map itself | $8 |
| Each text layer | $1 |
| Each uploaded image | $1 |
| Brush, line, zone, erase layers | Free |
| The postal grid layer | Free |
| Every effect — curve, glow, shadow, gradient, blend, burn-in | Free |
| Cayo Perico island add-on | $1 |
| Editing a design after purchase | $1 per element added or replaced |
What is charged
#From design to a running server
Add to cart saves the design to your account and puts it in the basket. After payment the compositor builds the real resource on our machine — that takes a couple of minutes for a full-resolution map — and the archive appears in your dashboard. Saved designs stay there, so a map can be reopened and re-edited later rather than rebuilt from nothing.
- 01 Add to cart
The design is saved against your account with everything on it.
- 02 Pay
Card through Stripe. A branded build starts automatically afterwards.
- 03 Download
The finished zip appears in your dashboard. It contains the resource folder, plus the island resource if you bought the add-on.
- 04 Install
Unzip into resources/, add one ensure line to server.cfg, clear the FiveM client cache and reconnect.
#Common questions people hit in the editor
- Nothing happens when I click a tool — Text and Logo place a layer immediately and hand you back to Select; the drawing tools stay active until you pick another one.
- My logo looks huge — sizes are in map pixels, and the map is 6144 across. A mark that reads well is usually between 400 and 900 pixels wide.
- My text vanished — check the layer list for a hidden or locked layer, and check the export-frame warning; a layer dragged below the Minimap row is behind the map.
- The preview looks different from the editor — the editor previews the base map through CSS, which cannot reproduce grain or a vignette exactly. The render is the truth.
- I cannot drag the map — press H for Pan, or switch back to Select and drag an empty part of the canvas.
Questions
Is there a free FiveM minimap editor?
Do I need Photoshop or any texture tools?
What image formats can I upload to the minimap maker?
Can I edit a minimap I already bought?
Does the branded map need a script to show my logo?
Can I put my logo on Cayo Perico as well?
How long does the finished build take?
Ready to pick a map?
Twelve themes on three base map styles, $8 each, instant download.
Relevant to what you just read